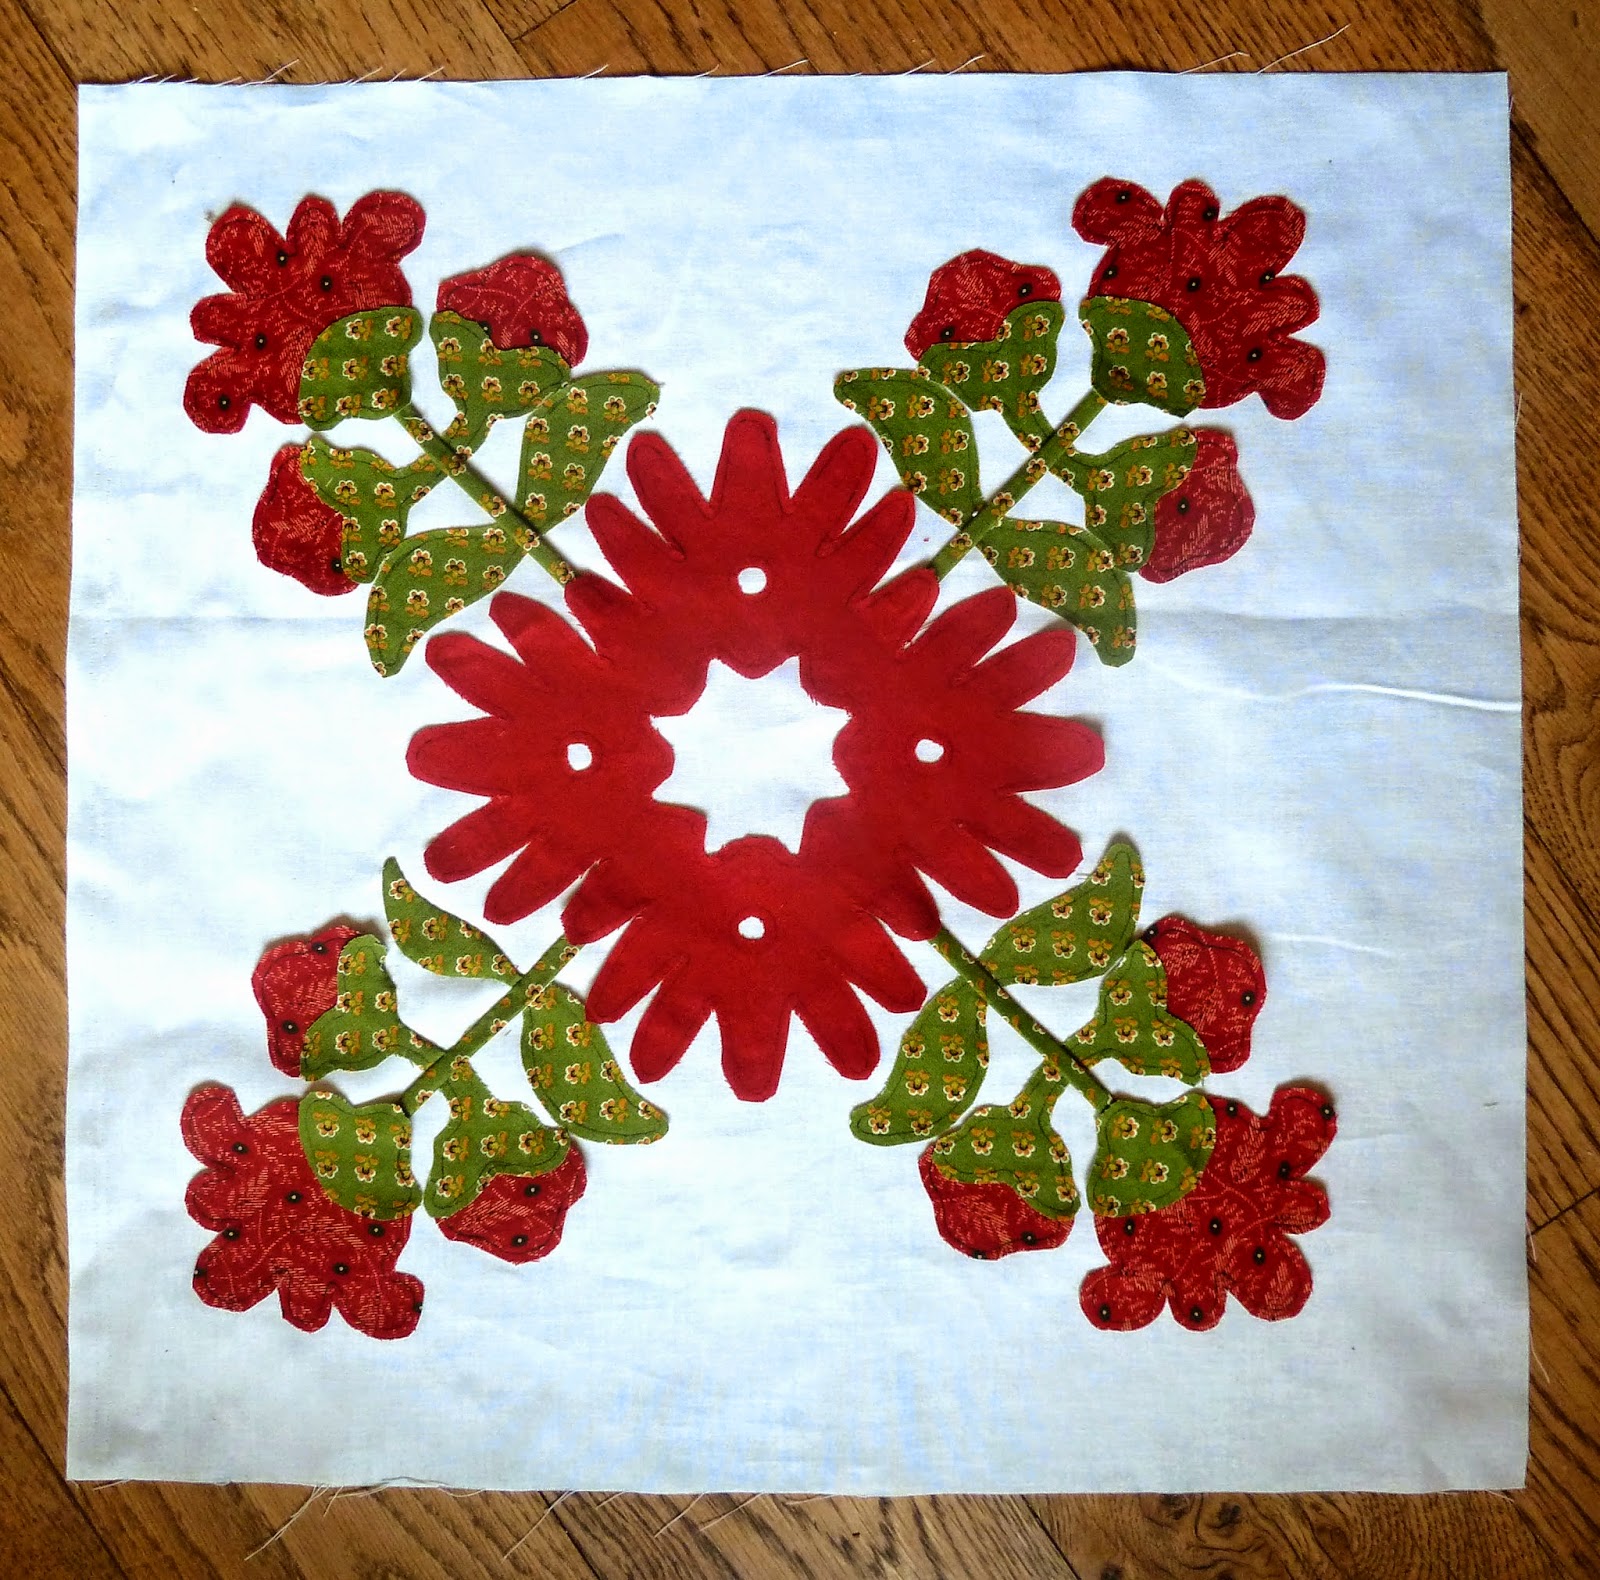
I love Baltimore album quilts. It wasn't always that way; I had to learn to love them by designing my own album quilts. First was Ladies of the Sea with lots of ships, followed by Friends of Baltimore with lots of flowers. And now I'm working on four Baltimore quilts at the same time. I am sure my friends must think I'm crazy and I'm not so sure that they are much off the mark. So... let me show you what I've been working on this month.
After complaining for months that I had little time to design anything, as family and lecture/workshop commitments have really eaten into my schedule, I finally found a week when I was not on travel, not otherwise tied to meetings or workshops, and not trying to catch up on home tasks and chores. It was heaven! You saw some of the blocks in last month's blog -- I haven't made much progress on the ones I started because I've been working on the newer ones I've designed. This month, I'm going to show you how I develop some of my ideas. I get asked that question often and the answer is simple. I often just look at old quilts... and adapt the designs I see there.
Here's a quilt that gave me a wealth of ideas. It is an 1847 Baltimore album style quilt that is housed in storage at the Grand Rapids Public Museum. The quilt has 16-inch blocks set on point, with most of blocks done in turkey red prints and greens.
Take a look at the individual blocks in this quilt. They are fabulous! Here is one that immediately caught my eye - a harp and leafy vines. I love the simplicity of this block. You cannot read the inscription, but it says "Mathilda Kindle (or Hindle), May 30th, 1847." The quilt was made for an 1847 wedding.
There are two other harp/leaf blocks in this quilt. Here is a second one. Aren't those little pots just too cute? and funny! The name "Mary E. Shipley" is embroidered below this harp.
When I decided to use one of these blocks in my own quilt, I chose the first option. I have not prepped my block yet, but here is the pattern I've drawn out (and this is where I'm making four quilts: one will be complex blocks - with an on-point and a straight-set option, and one will be simple blocks - also with an on-point and straight set option). This design is for the on-point version of the harp/leaves block. I've added a bird at the bottom because my "potted tulips" blocks that I showed last month have birds in them. This helps carry some continuity across my blocks.
Another block that struck me as being unusual - but traditional - and wonderfully exciting to draw out and make, is the Christmas cactus block. Here's the original block.
And here is my block. My berries are a little bigger... the design is a little more refined... and only one of the four quadrants has been appliqued. You can see from the block below that, when I can, I always like to baste all of the pieces of an applique block in place before I start the applique. When I do that, I am ready to take the block with me and not have to carry an overlay or a tracing block along with me. Sweet!
As you can see, I am sticking with a very simple color palette: solid red fabrics, sometimes a red print if more than one red is to be used... and a green that carries yellow within it or is a very yellow-green print.
Another quilt that gave me a ton of ideas is this one, below. This quilt can be found on the Mingei International Museum's website. They have hundreds of quilts in their digital library - just do a search on "quilt" and you may be surprised how many quilts the museum has. The quilt below was made in 1847 (maker unknown) and measures 99 inches square. Take a look at the blocks in this quilt. Is there one that intrigues you? Or grabs your eye more than some others? If you made a table with A-B-C-D-E on the top and 1-2-3-4-5 on the side, here are the blocks I really liked: A-4, B-1, B-2, B-3, C-1, C-2, C-5, D-1, D-5, E-2, and E-4.
In particular, the E-4 block was a beauty for me. It offered lots of opportunity for me to "rearrange" the flowers and refine the cornucopia.
And so here is my block, below. I have not finished it yet, so don't be too critical. I finished the cornucopia, the red flowers, and some of the greenery. I like how it looks, though, and especially like the green and black checked fabric that I chose for some of the leafs. It's a good civil war print, though it's not seen often.
The quilt also had three different "crossed flowers" blocks in it that I thought I might take a stab at making. Here was the first....
And the second...
And the third.
Which block did I choose to design, based on these inspirational vintage blocks? Take a look below and you'll see.
And here is the block... I've prepped it and I'm ready to start stitching away on it. In fact, I've already started stitching one leaf. Can you find it?
This month, I also finished one of the pots of flowers that I designed last month. It has a lot of leaves on it, but they were quick and easy to make. The original block that this is based on did not have the woven red pieces in it. I decided to add that touch because sometimes a block is just "too" simple. that was the case on this one; it's tough, without a fabric that carries the vase, to have such a large area that is plain. The woven insert was my solution. It could just have easily been an appliqued flower atop the vase. I use whatever strikes me at the time I'm drawing out the block.
Another block in the old quilt, above, had four pots of flowers. I haven't prepped my block of four pots yet - but I've got it designed. Here it is.
And my second two-flower block is now fully appliqued; it just needs to be pressed and trimmed to 15-1/2 inches square. Bit by bit, I'm making progress on my four quilts. You'll note that I'm doing them all at once - not one at a time. I'm afraid if I did them one at a time, I'd never finish any of them. Sometimes, doing many things at once is both more interesting and more challenging - and I'm always up for a challenge!
I have enough blocks for my quilt now, but I thought I'd show you another old quilt - this one is known as the 1847 "Reverend Nadal Quilt." You can find pictures of it on the www.americanhistory.si.edu website. Are there any blocks in this quilt that you think would be excellent candidates for adapting and putting into one of today's album quilts?
There is one that stuck out for me - this open wreath. There are lots of different cherry wreaths in old album quilts, but this one is quite unique. I like the multitude of leaves and the "pointed" cherries, though they are a bit of a mystery to me. Nonetheless, you might see a block like this in one of my quilts, someday.
That's what I've been working on lately. I wish I could say that I have more done, but I've been on travel half of the past month. Maybe next month I can show you more progress.
In the meantime, Patricia Cevoli sent me a picture, below. She had just gotten her Stars for a New Day (my pattern's name - her quilt is surely named something different!) back from her quilter and was in love with it. In her words, "Your pattern was so easy to follow and it was spot on accurate. Thank you very much for taking all the figuring out of my life! Seriously!" That made me laugh a little, but I know exactly what she means, since I do have to do a lot of math to put a pattern together!
Here's a close-up of her quilt. I love the colors she chose - sort of a dusty Fall set of colors. Patricia said the quilt was a blast to make and took about three months with 5 hours per day. She said she didn't know what to do with herself when she was finished... so she's started a feathered star quilt. She's a glutton for heavy-duty piecing!
And here are some close-ups of the quilting in Patricia's quilt. It's wonderful!
Thanks, Patricia, for the pictures. All of you - I love when you send me pictures!
Below are a few pictures I took at the Ozark Piecemakers Quilt Guild, where I went and spoke and taught this June. For me, nearly every guild I visit is unique - some more so than others. This guild was unique in that they rent a very large space in a strip center for their meetings, bees, and other gatherings. That's quite an expensive proposition, but they have the processes in place to make it work - and work well! The guild was very friendly and warm - and I had a great time despite late planes and lost luggage.
Here, the room starts filling up - they have two meetings on guild day, one in the morning and one in the evening, for their 350 members.
When a guild has its own space, like OPQG does, they can put things on the walls and expect them to stay there. The guild has photos of all of its members. It must be wonderful to recognize all the people in your guild!
They don't have to haul their library back and forth every month - it stays in place (you can only see a portion of their extensive book collection).
The storage rooms they have in the back are enormous - this one is dedicated to their bazaars, which helps fund the facility rent.
And this room held an even more extensive collection of fabric for community quilts, soldier quilts, baby quilts, and more. It was all organized my color and type, with much of it kitted and ready for members to take with them to finish a quilt. This guild has not let its large facility costs distort their mission of educating their members, providing quilts to the community, and sharing their love of quilting with the public. It is an AWESOME guild!
That's all I have to share this month -- it's a short post, but like I said: I've been traveling a lot lately and I'm even posting this (July) post early since I'm leaving town again soon. The next couple of months, my posts will likely be similarly short, as I'm going to be running at full speed in order to get ready for the Baltimore on the Prairie workshop in September. Time is flying!
I hope the summer is treating you well - and that you have plenty of time to quilt!
Happy stitching -
Sue
(c)2014 Susan H. Garman


